Photoshop is a powerful digital design and editing tool. This article will teach you how to create that colorful tie-dye effect in Photoshop, slicing text into different parts of the image with cool effects! The process is simple and easy to follow, even for people with no previous experience in Photoshop or graphic design. You’ll see how you can use a Type Tool to create text that looks like it’s been sliced apart by razor blades which will eventually form the tie-dye pattern when overlapped on top of other colors.
Step One: Open a new file
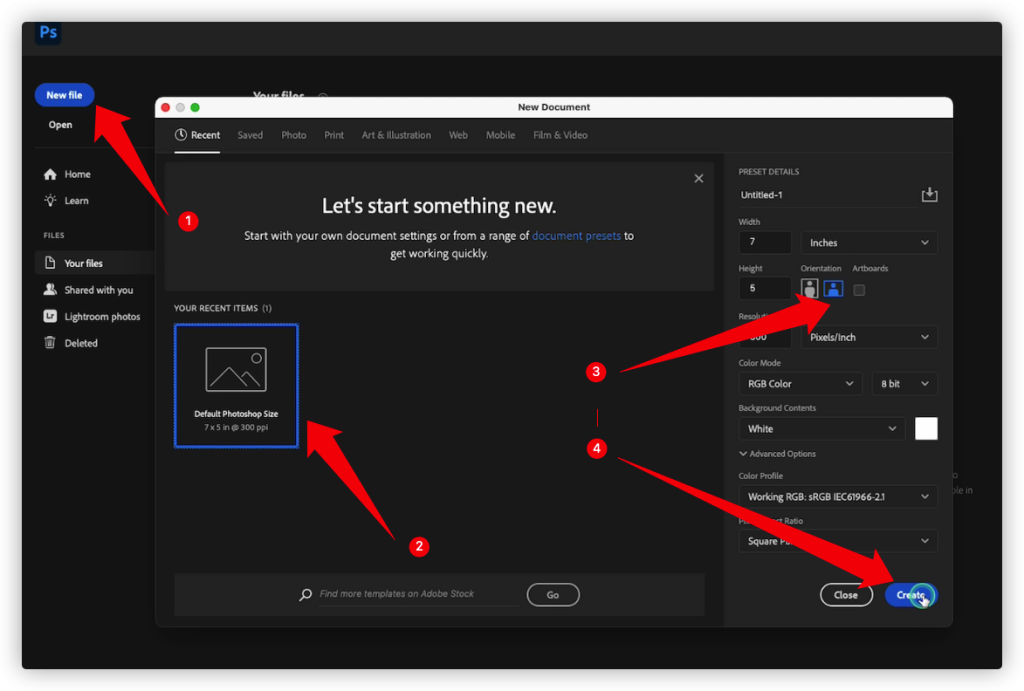
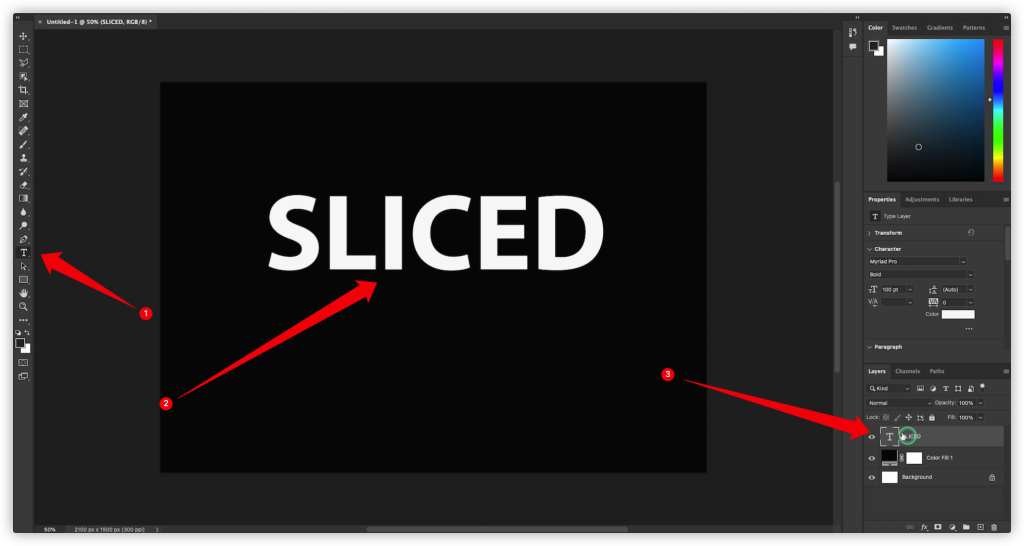
Open Adobe Photoshop and Create a new file.
Step Two: Change Background Color
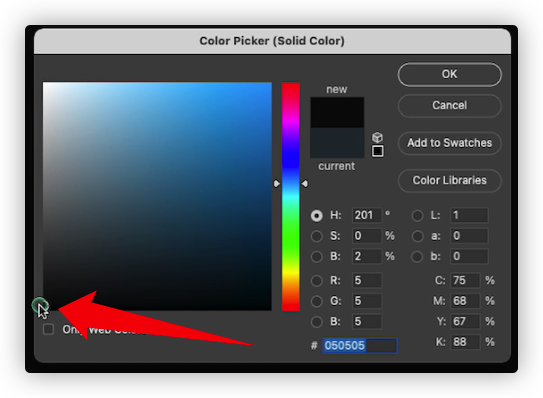
Choose Solid fill to fill the background with a single, solid color.

New fill or adjustment layer >> solid color >> color picker
Step Three: Write Down Your Text
Horizontal type tool>> write text
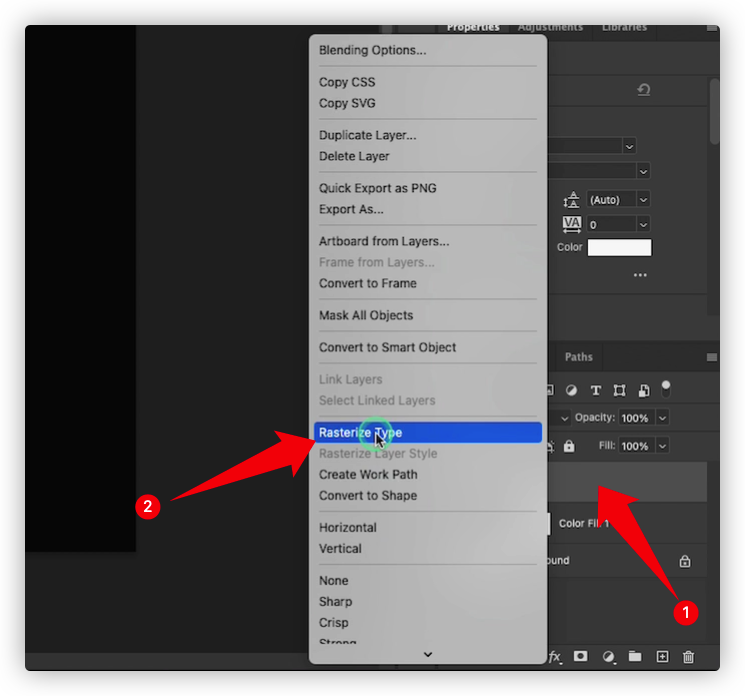
Step Four: Restrize Text Layer
Text layer >> Right click>>restrize type
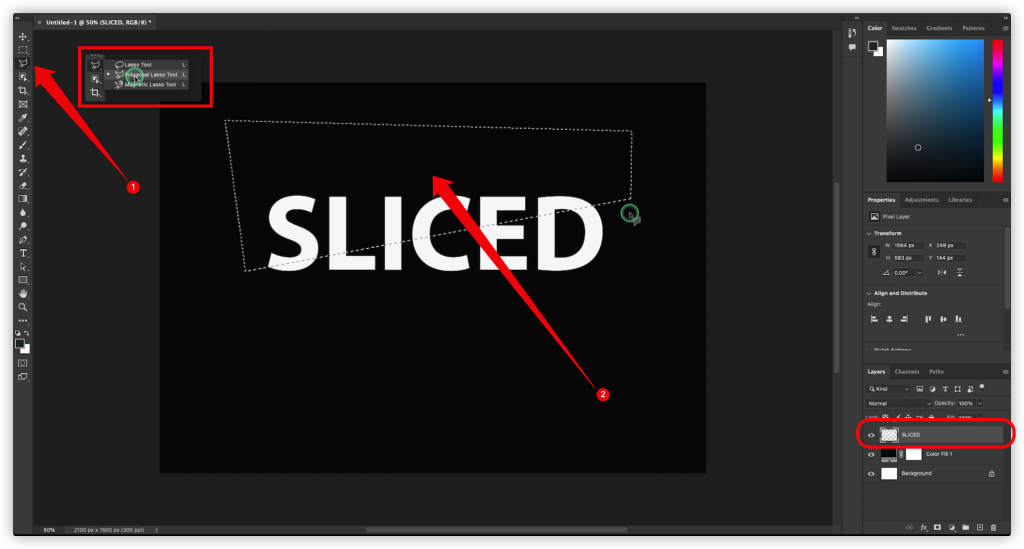
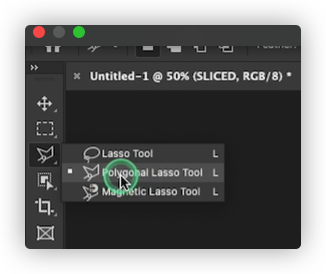
Step Five: Make A Selection With Polygonal Lasso Tool
Choose polygonal lasso tool >> draw selection
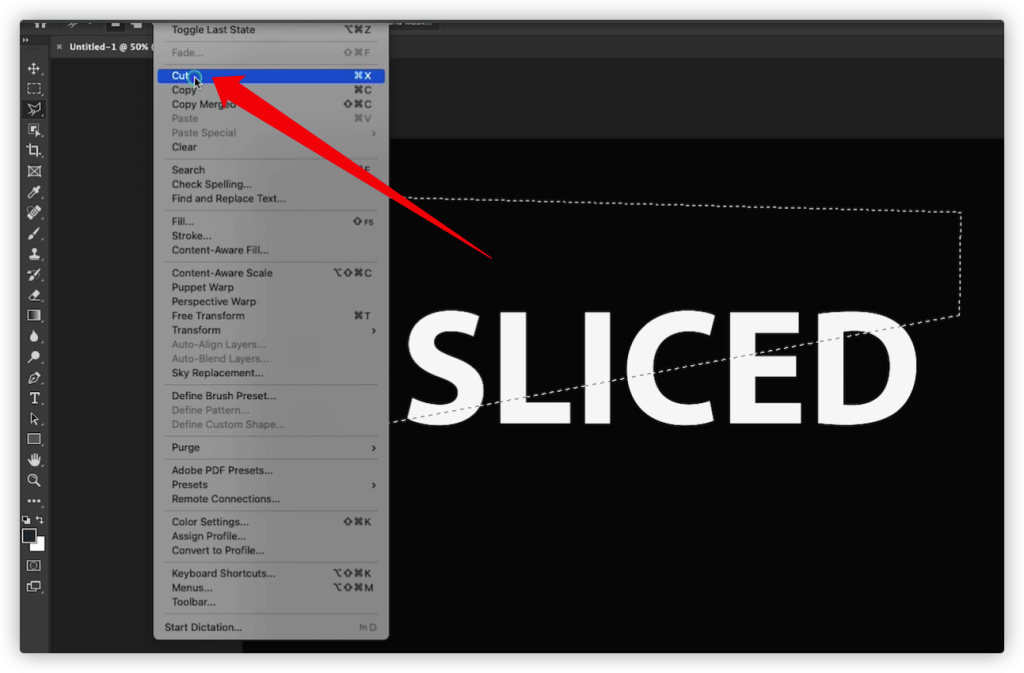
Step Six: Cut Layer
Edit >> scroll down to cut
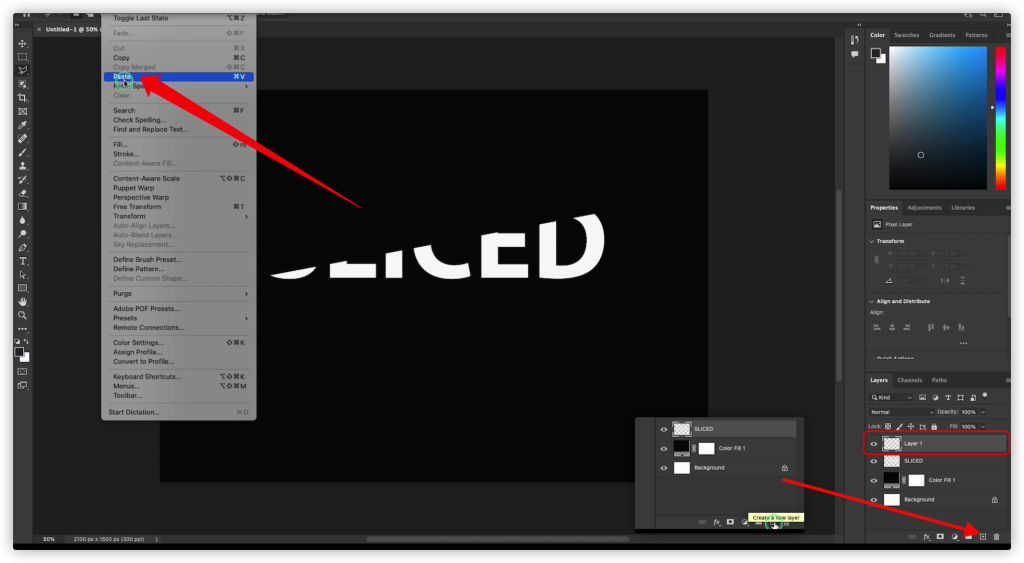
Step Seven: Create A New Layer And Paste Selection
Hit create a new layer 1 >> Go to edit >> choose paste
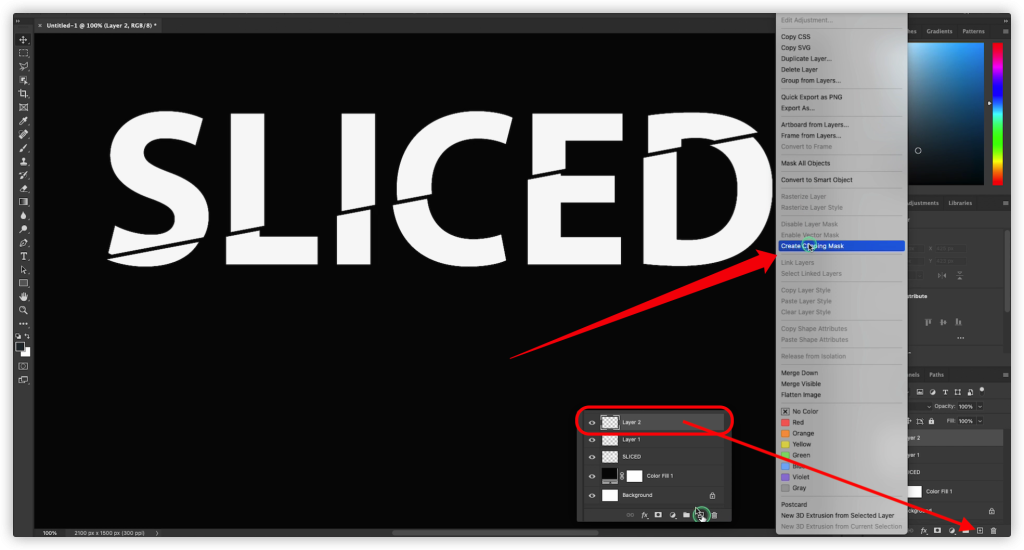
Step Eight: Add A New Layer And Create Clipping Mask
Add layer 2 >> create clipping mask
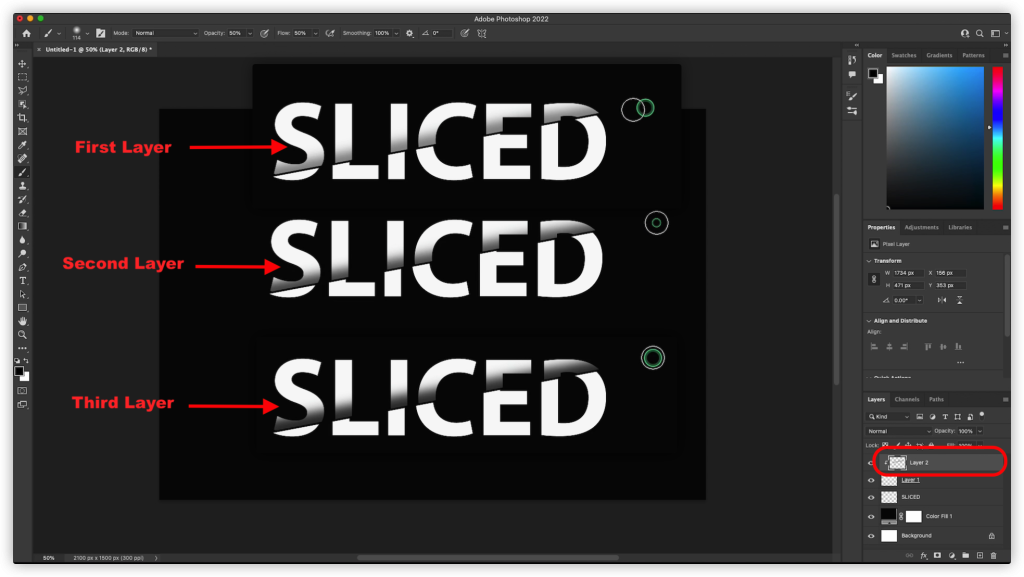
Step Nine: Use Brash Tool
Brush tool >> choose set dynamics brush >> mode: normal >> opacity: about 50% >> flow: about 50% >> smoothing: 100%
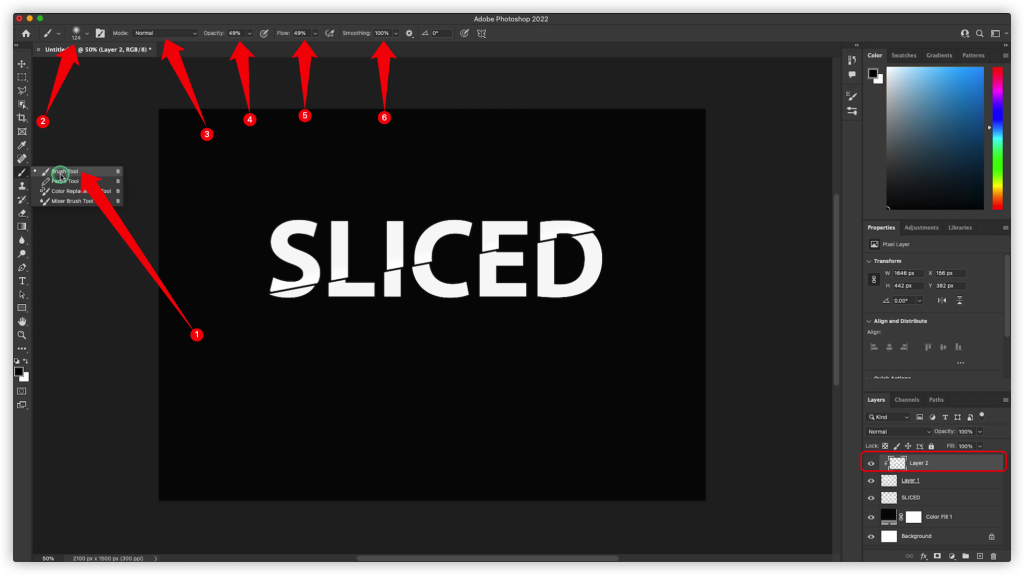
Use the brush tool three times to get the nice sliced text effect